Introduction – Turtlebot tutorial step by step
In this tutorial we will use the inertial measurement unit of a standard Android phone to control a ROS compatible robot. We have chosen a classical ROS robot, the Turtlebot3 Burger , to be our test platform.
Requirements:
- Android phone
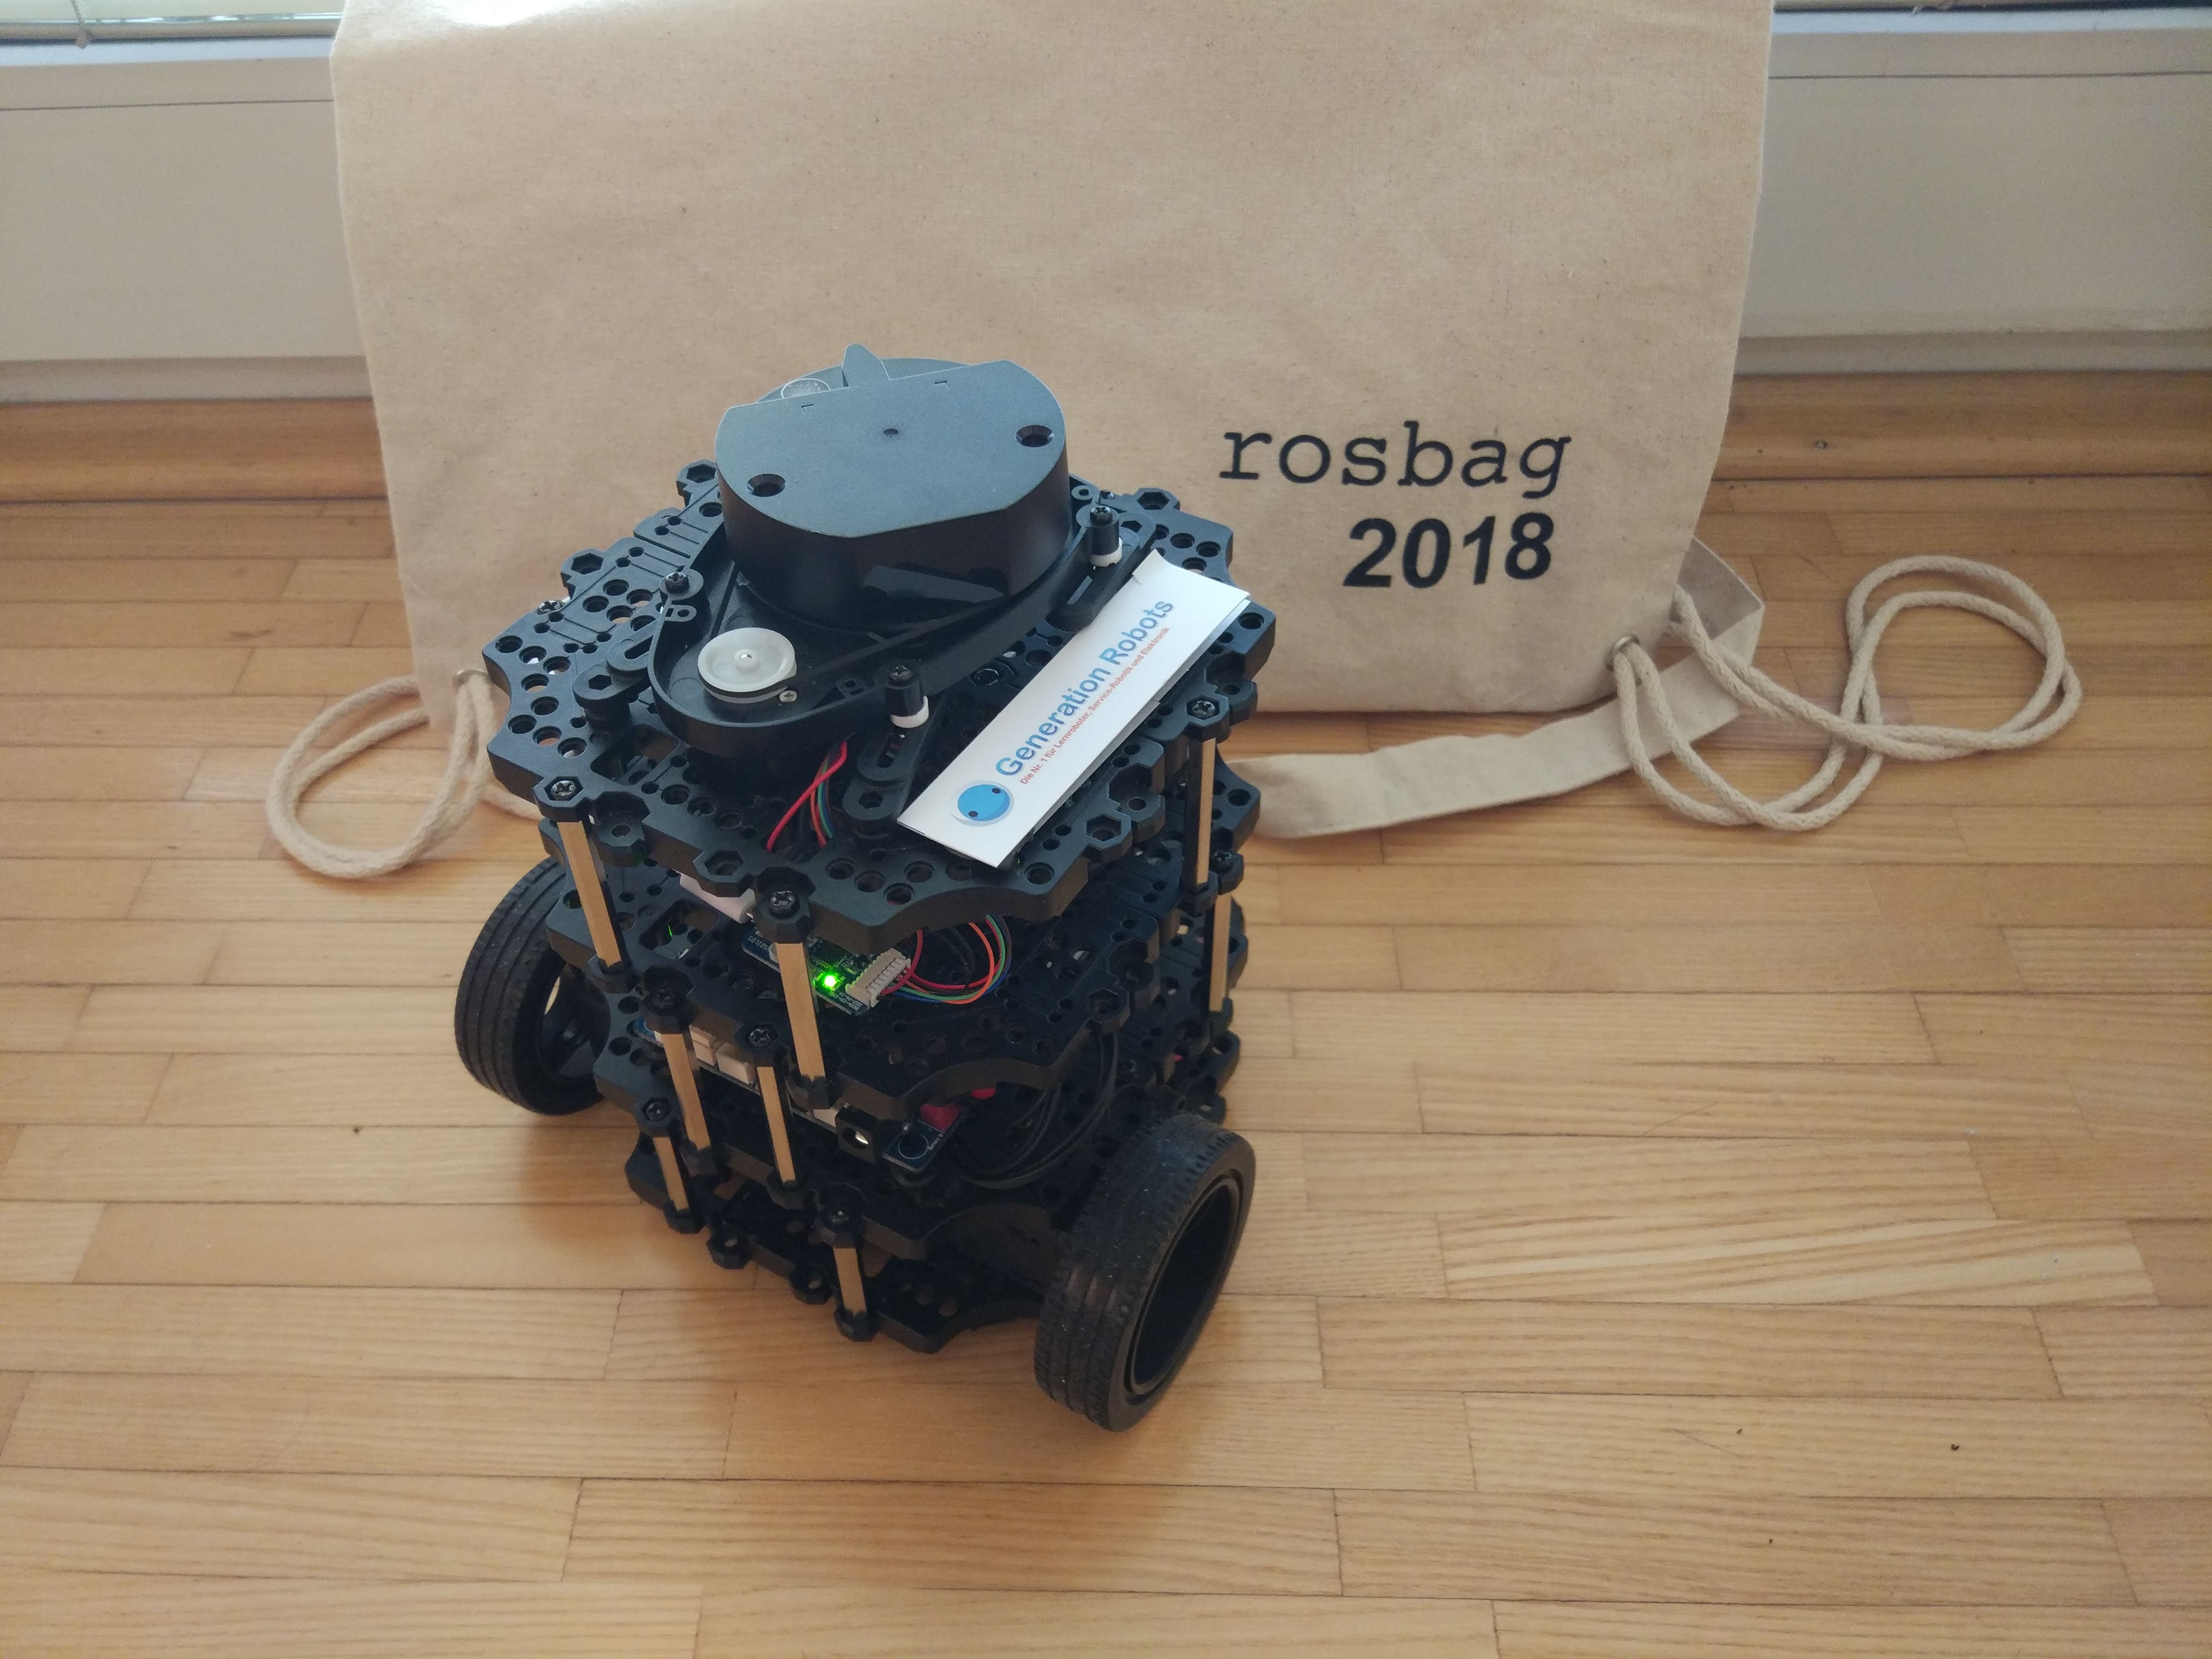
- Any ROS compatible robot – In our tutorial we use the Turtlebot 3 – Burger
- Some basic knowledge on Linux and ROS
- WiFi connection
Prepare the Android App
As we are not reinventing the wheel, we are goint to use a specific app, that is already available in the Android store. I recommend to install the app first, because it is essential to this tutorial.
Connect to your robot
Open a few terminals on your robot. Either connect a screen and a keyboard to your robot or simply ssh into your robot. All consequent commands are executed on the robot (Raspberry Pi).
If you are working remotely, I recommend to add your ssh key to the authorized hosts on the robot, in order to connect to the robot using your key and no password. If you have not create a ssh key yet, just call ssh-keygen in a terminal to create a key in your home directory/.ssh. Replace the path to YOUR_KEY, USER and HOST with your actual setup.
cat ~/.ssh/YOUR_KEY.pub | (ssh USER@HOST “cat >> ~/.ssh/authorized_keys”)
Prepare the environment (optional)
We recommend some additional setup that makes your life much more easier. We created some useful alias for ros environments. It’s just a little script, but very useful. Clone the tool and it to your local .bashrc
cd
git clone https://github.com/generationrobots-lab/rosbash
nano ~/.bashrc
Add following lines to the end of your file:
source $HOME/rosbash/rosbash.bash
source /opt/ros/kinetic/setup.bash
source $HOME/ros_ws/devel/setup.bash
export ROS_MASTER_URI=http://$HOSTNAME:11311
export ROS_HOSTNAME=$HOSTNAME.local
export TURTLEBOT3_MODEL=burger
Save and close the file with Ctrl+O, Ctrl+X.
Note: Depending on your turtlebot model , you might need to replace the name “burger” with “waffle”.
Note: Do not worry about the ros_ws directory. We gonna create it in the next step.
Prepare the robot
If your robot is not setup yet, I recommend that you look at this tutorial first, which describes the basic setup of Ubuntu 16.04 and ROS Kinetic for the Turtlebot 3.
Let’s assume Ubuntu and ROS are installed, we continue to setup a ROS workspace. Let’s create a workspace called “ros_ws”.
source /opt/ros/kinetic/setup.bash
mkdir – p ~/ros_ws/src
cd ~/ros_ws/src
catkin_init_workspace
cd ..
catkin_make
In case you have installed rosbash from the previous step, you should now source it in all existing terminals by:
source ~/.bashrc
In order to tell you bash that you want to use the “ros_ws” you can just type “devel” in the root of the workspace and you command prompt should change.
Now let’s clone the turtlebot3 and our IMU bridge repository:
cd ~/ros_ws/src
git clone https://github.com/ROBOTIS-GIT/turtlebot3.git
git clone https://github.com/generationrobots-lab/teleop_imu.git
You can now simply invoke a catkin_make by writing the abbreviation cm, otherwise you need to invoke catkin_make in ~/ros_ws . In case you have any missing dependencies you can simply install them by install_deps .
Test all components and assemble everything
Now it is time to see, if all components are working.
Start the rosmaster :
roscore
By default you should also have a teleop_twist_keyboard controller installed with the ros packages, other install it by:
sudo apt-get update && sudo apt-get install ros-kinetic-teleop-twist-keyboard
rosrun teleop_twist_keyboard teleop_twist_keyboard.py
In another terminal run:
rostopic echo /cmd_vel
If you press now on one of the buttons (while the terminal with the teleop twist keyboard has the focus) I, J, K, L or space, you should see an output message on the echo terminal.
Now lets start the robot base driver in another terminal:
roslaunch turtlebot3_bringup turtlebot3_core.launch
If you try the teleop keyboard now the robot should be moving. Stop the teleop_keyboard once this is working (Ctrl-C).
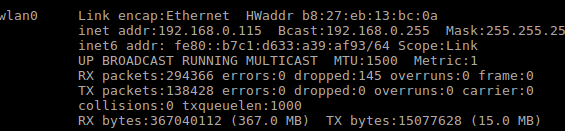
Now check the IP of your robot, using ifconfig. You should get an output, similar to the one shown below. In my case the robot is connected by WiFi (wlan0) and its address is 192.168.0.115. This is the address of the rosmaster.
Now start the app on your phone. It will ask you to enter the address of the master in the first line.
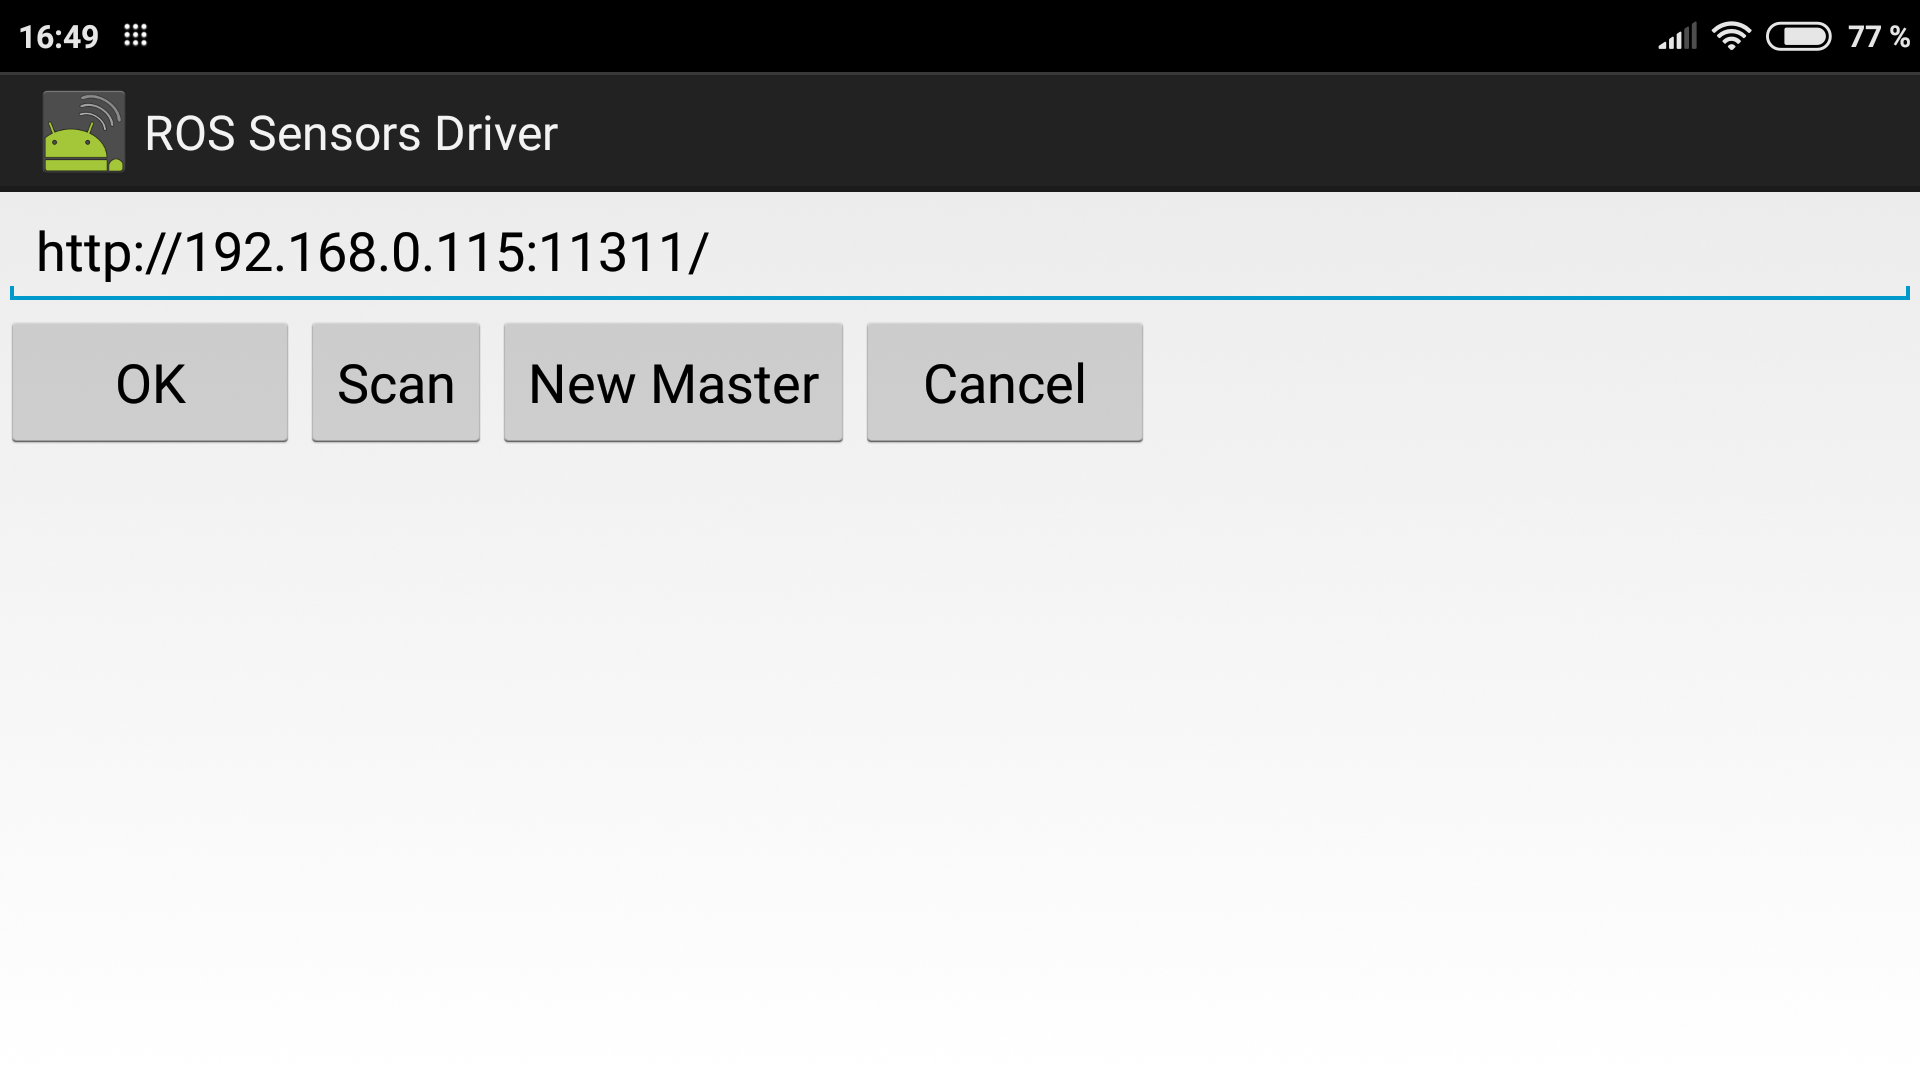
Enter: http://192.168.0.115:11311 and replace 192.168.0.115 with the corresponding IP of your robot and confirm with OK.
Note: The roscore and the turtlebot3 core should still be running on your robot.
Now the android phone should connect to your robot and send message under the topic name:
/android/imu
In order to see, if you get the messages do a
rostopic echo /android/imu
You should see a lot of values that are published.
If that works fine, you can now start the bridge from the IMU to the velocity command topic. The bridge will use the first sensor message as reference for zero, where the robot will not move. So probably lay your phone flat on a table. Whenever you put the phone back in this orientation that robot will stop moving. In addition when you completely close the app, the robot stops also.
rosrun teleop_imu teleop_imu_bridge.py
Congratulations, you can now control you robot by turning your phone. Feel free to open the
~/ros_ws/src/teleop_imu/scripts/teleop_imu_bridge.py
and change it to your needs. Probably your might want to change the x and y axis or the scaling to move faster or more precise.
To speedup the startup I have also put a launch file inside the teleop_imu/launch folder, which starts the turtlebot core and the imu bridge. Run it by:
roslaunch teleop_imu tb3_core_imu.launch