Age range: 14 years and older
Difficulty: medium
Duration: 120 minutes (the time it takes for the paint to dry)
Materials:
=> A Bare Conductive light kit
=> Electric Paint (50 ml pot)
=> An external battery (power bank) or wall adapter for USB cable
=> An extension cord (optional)
=> Masking tape
=> A sheet of A4 paper
=> A pencil
=> A cutter knife
=> A brush (if possible, quite thick)
=> Something to protect your table (a piece of cardboard for example)
What are you going to do in this activity?
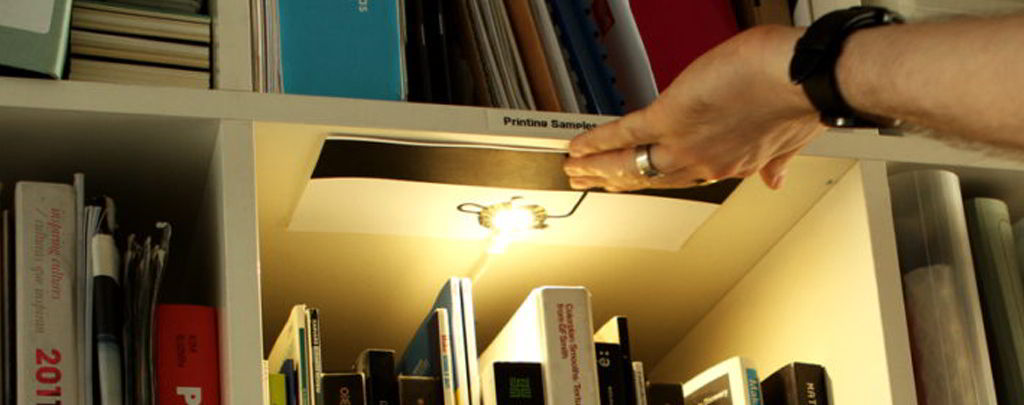
You will learn how to make a touch bookcase lamp using some Bare Conductive paint and the light kit of the same brand.
Very easy to do, and very practical for your home! (if you have a bookcase or a simple bookshelf with books)
You can of course install this lamp elsewhere (dressing room, spice cupboard, cellar). We will show you how to make a large switch with some masking tape and electric paint!
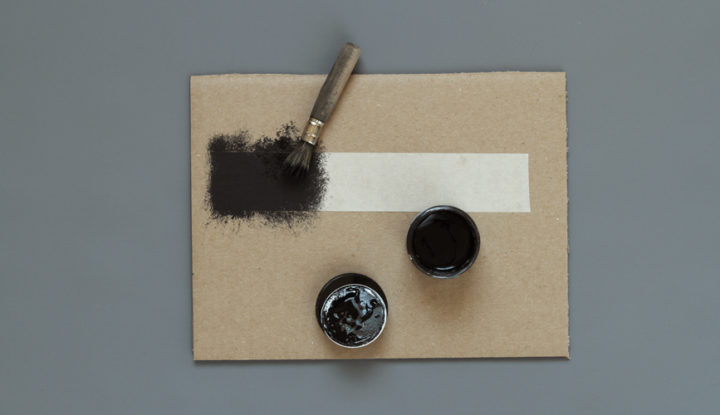
Step 1 : Build your switch
First, you are going to create the switch that will control the light module of your lamp. Stick some masking tape (between 20cm and 30cm) to a piece of cardboard. Then, cover the tape with some electric paint (use the 50ml pot and the brush).
Wait for the paint to dry before peeling off your adhesive tape.
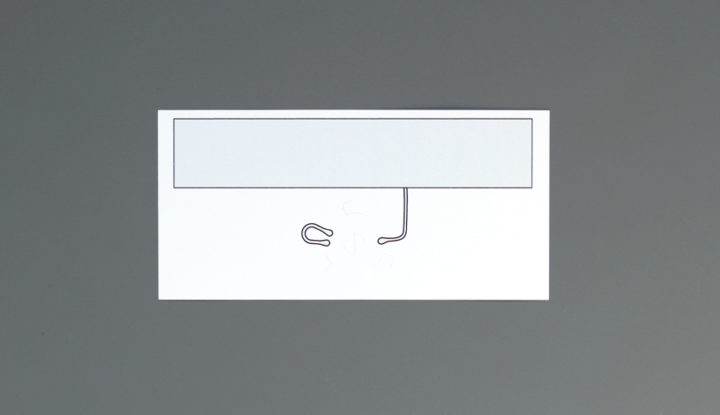
Step 2 : create the lamp base
If you are creating your own template, have a look at this tutorial, which will help you make a functional base.

For this project, we are using electrodes E0, E9 and E10 of the light modul:
- E0 => connects to the Switch
- E9 and E10 => connect together
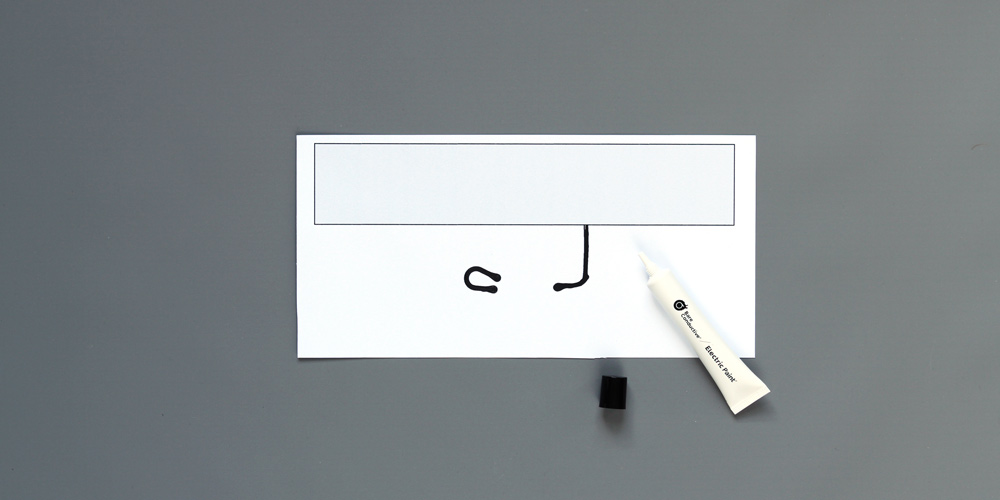
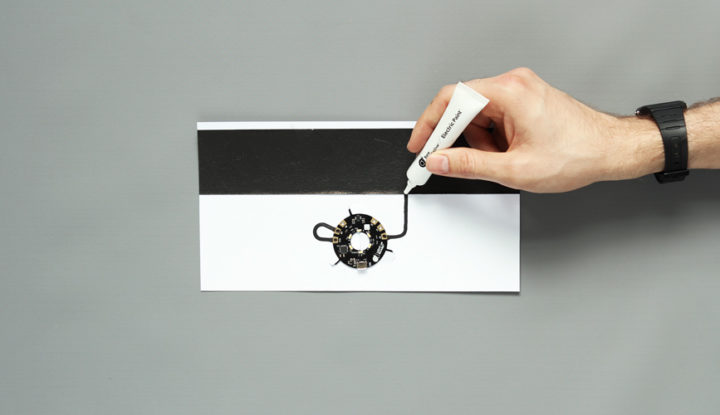
Step 3: create the circuit with conductive paint and attach the light module to the base
Go over the lines you drew with the conductive paint (use the 10ml tube for this step).
Wait for the paint to dry, then attach the light module to your base. This tutorial explains how to do it.
Step 4: Add the switch
Once your circuit and switch are dry, it’s time to assemble them! Stick the switch to the place you have drawn (just next to the connection to electrode E0).
When the switch is placed, connect the light module to it (for this cold welding, use the 10ml tube). Wait for the paint to dry.
Step 5 : Power up your lamp!
Now it’s time to power up your creation. You have two options:
- USB cable + wall adapter (add an extension cord if your cable is too short)
- USB cable + external battery (power bank for smartphone)
Bare Conductive light module voltage and power consumption
- Input Voltage: 5.25V DC via MicroUSB
- Power consumption: 200mA max
Once the power supply is in place, just touch the switch lightly with your fingers to turn on the lamp. Congratulations, you made your own bookcase light!
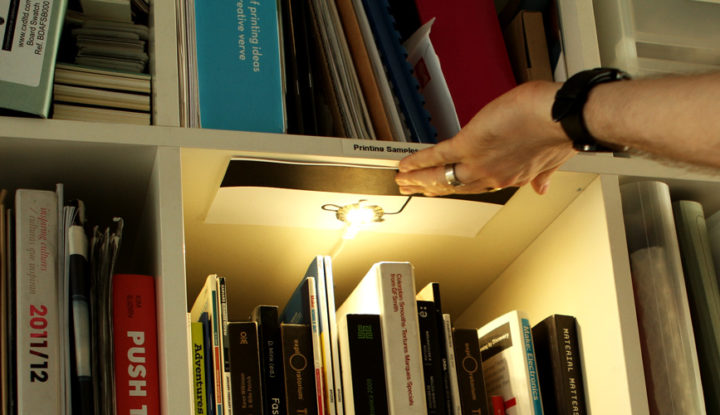
You can now attach it to your bookcase or anywhere else you need extra lighting, for example, in a dressing room or inside a drawer.
You also might want to seal the switch with electric paint to prevent smudging that would interfere with its operation. See this tutorial to learn how to protect your circuits made of conductive paint.