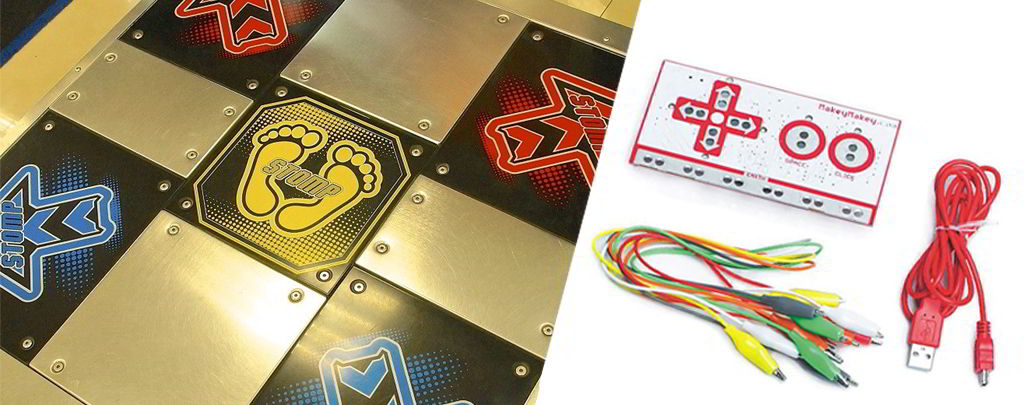
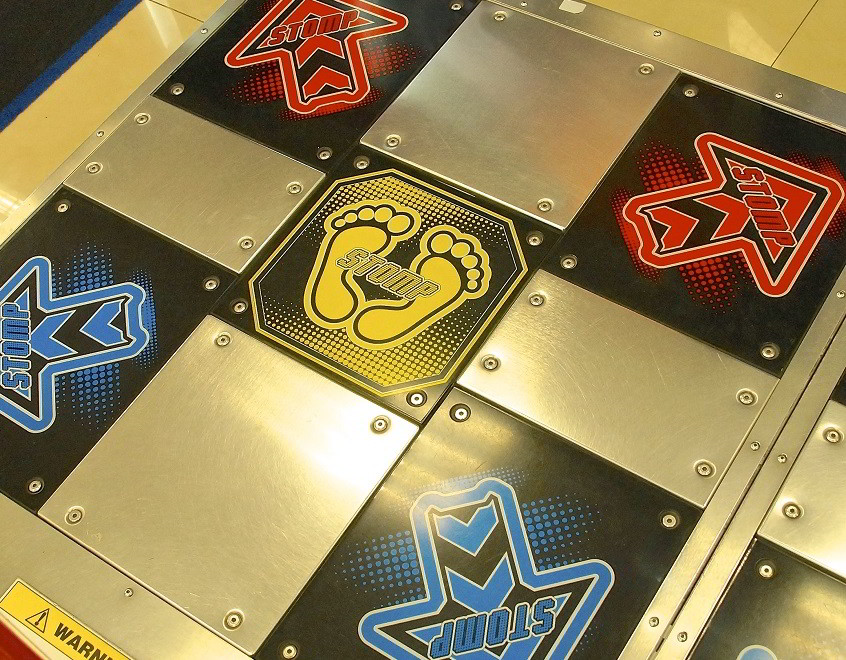
In this activity, you will build a giant gamepad, which you will control standing, with your feet! A fun way to do a bit of exercice!
Age range: 11-16 years (with the help of an adult for the youngest)
Difficulty : medium
Duration: 120 minutes
Materials:
- A Makey Makey kit (board + alligator clips)
- A computer with internet
- Some cardboard, cardboard and more cardboard! (corrugated fiberboard)
- Aluminum foil
- A glue stick
- Some 22AWG wire
- A cutter (or scissors)
- Sticky tape
- A ruler… as long as possible
- A pair of scissors
- A cutter
Once built, you will be able to use your gamepad with any Scratch-encoded game that is controlled from a computer keyboard. In this project, you will build some switches, learn what conductivity is and learn how to program with Scratch!
Instructions :
Step 1
Cut three pieces of cardboard of the same size. They should be big enough for you to put your foot on them. 50cm x 30cm is a good size, if you don’t a big enough piece of cardboard, it’s not a big deal, it will work just as well! Ask an adult if you are too young.

Step 2
Cut a first sheet of aluminium foil that is about the same width and length as the piece of cardboard you have just cut out (a sheet of aluminium foil is 30cm wide).
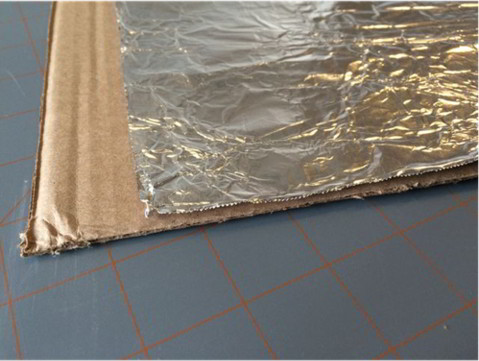
Step 3
Glue the foil on the first cardboard (a glue stick will be perfect for that!).
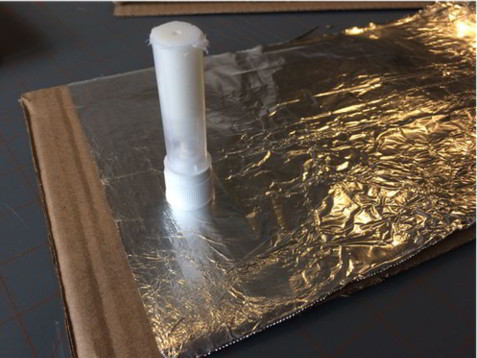
Step 4
Cut a first wire of at least 1m long (1m60 is a good length!), then strip it at both ends over 20cm. Don’t hesitate to ask an adult for help. With some tape, attach the stripped part of the wire to the aluminium foil that you have just stuck on the cardboard. All the metal part of the wire must touch the aluminium foil (for the electricity to flow!).
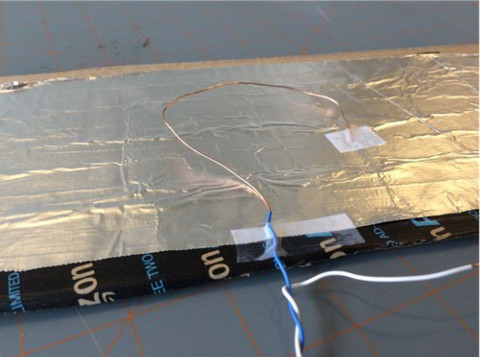
Step 5
Glue a second aluminium foil (of the same size) on top of the first one to cover the electric wire. The first half of your switch is ready!

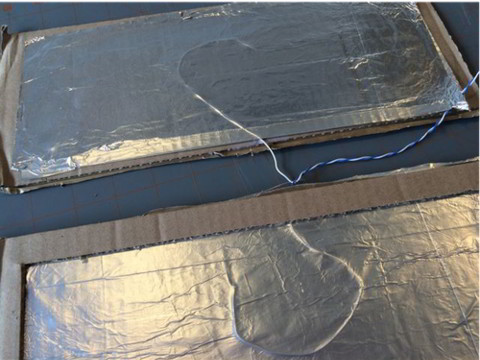
Step 6
We will now make the second half of the switch. It’s very easy, just repeat steps 1 to 5 with one of the pieces of cardboard you cut out at the beginning!
Step 7
Cut out a frame in the third cardboard, with borders about 4cm thick.
If it’s difficult, you can cut out 4 strips of cardboard to make your frame:
- 2 strips of 30cm x 4cm
- 2 strips of 42cm x 4cm

Step 8
Glue your frame to the first cardboard, on the aluminium side (if you use strips, glue them around the edge of the cardboard). Then glue the second cardboard on top. The sides of the cardboard with the aluminium foil must face each other. The first key of your controller is ready!
Step 9
Repeat steps 1 to 8 for the other keys. We advise you to make a total of 3 keys to play (left, right, jump).

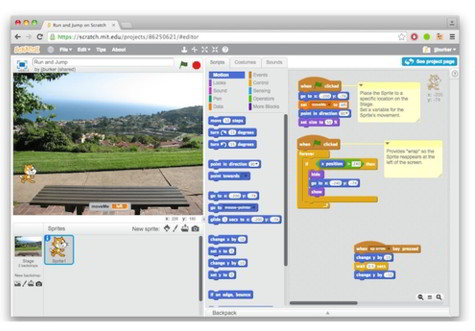
Step 10
Connect the electrical wires to the alligator clips and connect these to your Makey Makey board (right, left, jump). Connect your board to your computer with the USB cable and start the following game, coded with Scratch.
Step 11
You can now modify this game, test your controller with other Scratch games, make more keys or create your own video game with Scratch!